Tag Archives: DIY wedding

Pedro and Gemmas Rustic Vintage wedding

On Saturday 25th of June, Chris and I attended Pedro and Gemma’s wedding. Held in a beautiful barn in Sherborne, the location was stunning, but it was really the little touches that made the day! Check out the photos to see the home made vodka stand, picture frame photo opportunities, hand made favours and a […]

DIY Wedding Kit #7 Origami Cranes – a symbol of patience and trust

Origami Crane

Origami Crane

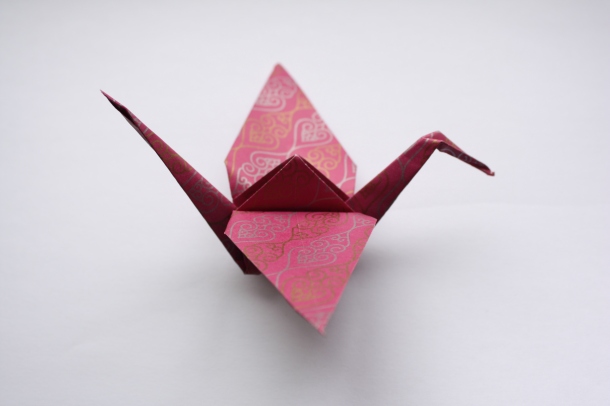
Origami cranes not only look beautiful, but also hold great meaning in the institution of marriage.

It is an ancient Japanese tradition for the bride and groom to fold 1000 cranes to symbolise  their patience and trust – necesary to sustain a happy marriage. This process is called sembazuru and the tradition itself is called Tsuru wa sennen. A couple who could weather the long, time intensive folding process together, supporting each other, talking with each other for weeks while taking on a challenging task was proving their ability to maintain a long term, content relationship.

You can find the instructions on how to fold the crane here.

But once you’ve finished your 1000 cranes, what do you do with them? Well, I have found some weddings which took this simple and inexpensive idea, and used it to decorate their venues with stunning effect. Check out the wedding pictures below.

Take a look at this Japanese themed wedding, they suspended cranes on string and captured them in glass jars!

This Bride folded 1001 cranes in a rainbow of colours which were then suspended above the ceremony.

This couple went for all white cranes and displayed them as a backdrop to their ceremony. It looks absolutely breathtaking!

This couple used patterned paper for their cranes, and hung them on their table centrepieces which were mini trees. How cute!

If you have the time to spare and are trying to avoid buying or renting expensive decor, why not give this a go!?

For more fantastic DIY ideas please subscribe to my blog, or check out my website at www.weddingreceptionidea.co.uk.

DIY Wedding Kit #4 Personalised Fortune Teller Favours

Here’s a great idea to keep your guests entertained before dinner. Personalised fortune tellers!
fortunetellers

So, all you really need to know is how to fold it, then we can get creative!

 fold 1fold 2fold 3fold 4fold 5

How to make it

  • First you need to make your piece 0f paper square. To do this fold the corner across as in pic 1 and then cut off the excess rectangle of paper.
  • Next fold your piece of paper in half in the other direction. You should now have a square piece of paper that has 4 triangles on it.
  • Now turn the paper so that it is curing upwards, rather than sitting like a pyramid. Fold each corner into the centre. You will now have a smaller square with 8 triangles on it.
  • Turn the paper over, this side should look like it had 4 squares on it. Now fold each corner into the centre again. When you’re done it should look like a square with 8 triangles on it again.

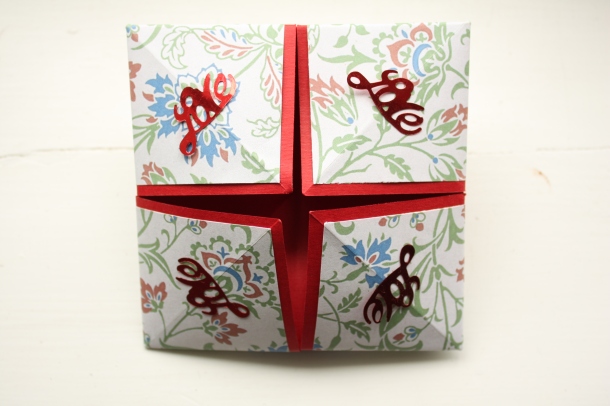
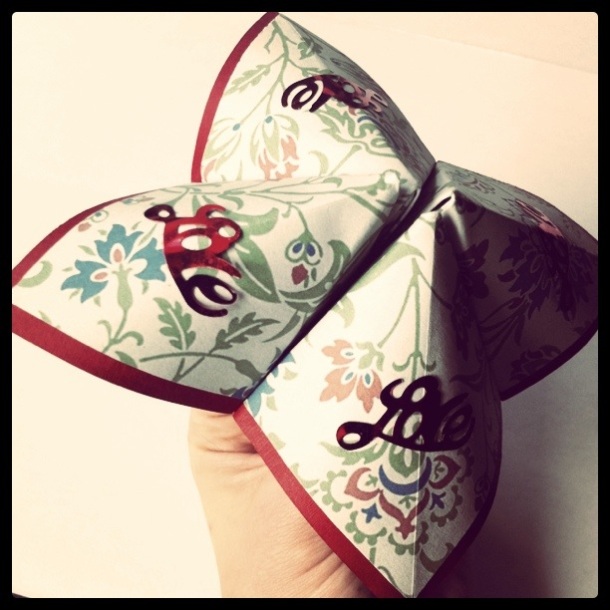
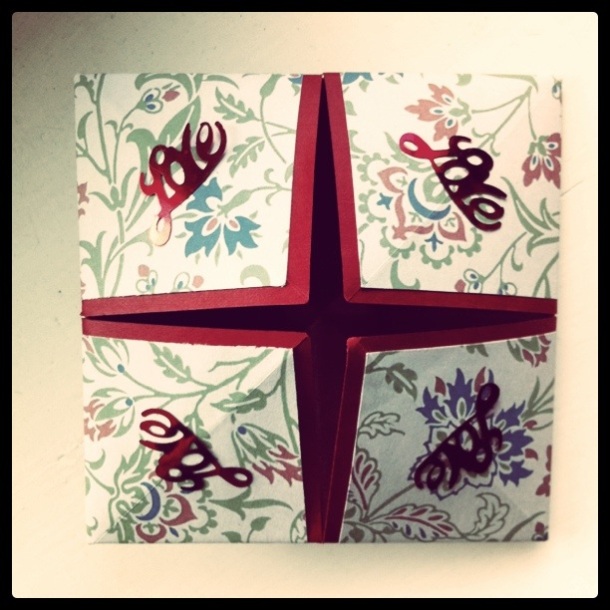
Vintage inspired LOVE themed fortune teller

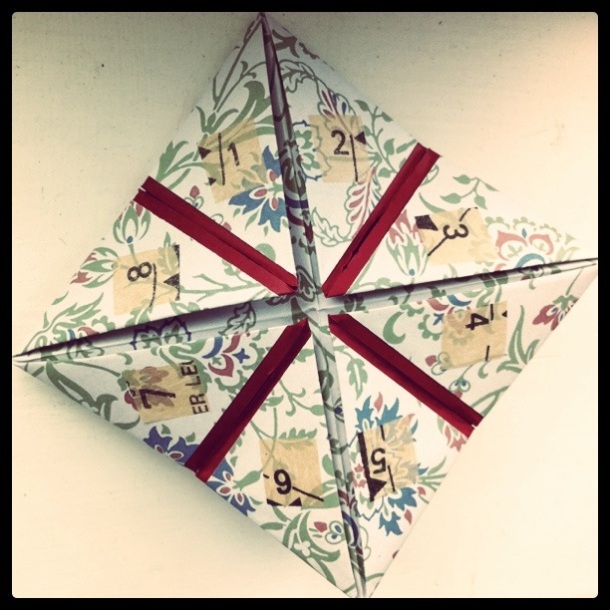
So here’s a couple of ideas what you can do with them. First of all is a ‘Love’ themed fortune teller. Perfect for revealing little facts about the couple. Scroll past the pictures to find out how I made it.
Wedding Fortune Teller

 Loveteller loveteller2

To make this cute, vintage inspired fortune teller you will need;

  • A piece of coloured paper
  • A piece of floral patterned paper
  • ‘Love’ sequins
  • An old dressmaking pattern

First off I cut my floral paper slightly smaller than my plain square, then i stuck it down in the centre with glue. Next I folded my paper into the fortune teller, when I was done I stuck on my little ‘Love’ sequins. I then cut out numbers from an old dressmaking pattern (you may want to photocopy these if you are making lots!). You can write whatever you like on the inside, but I would suggest little facts about the couple would be a sweet way to let your guests know a little more about them.

‘Mad Hatters Tea Party’ Fortune Teller

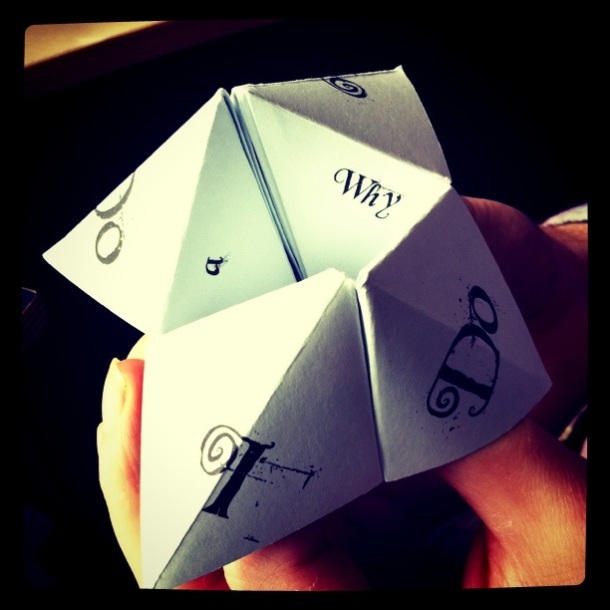
Here is a bonkers idea perfect for a mad hatters tea party!
 ido

 ido2

 fortuneteller

 To make this Alice in Wonderland themed fortune teller you will need;

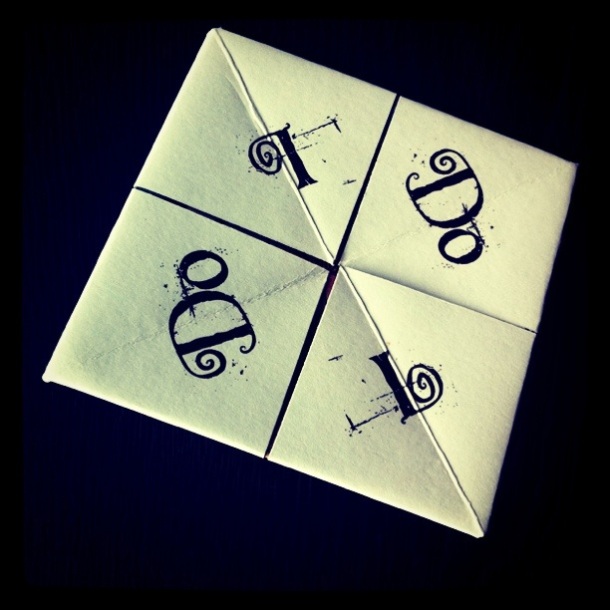
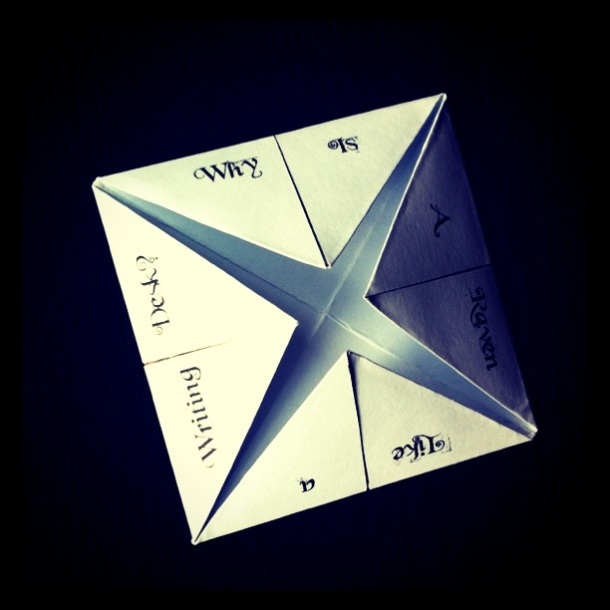
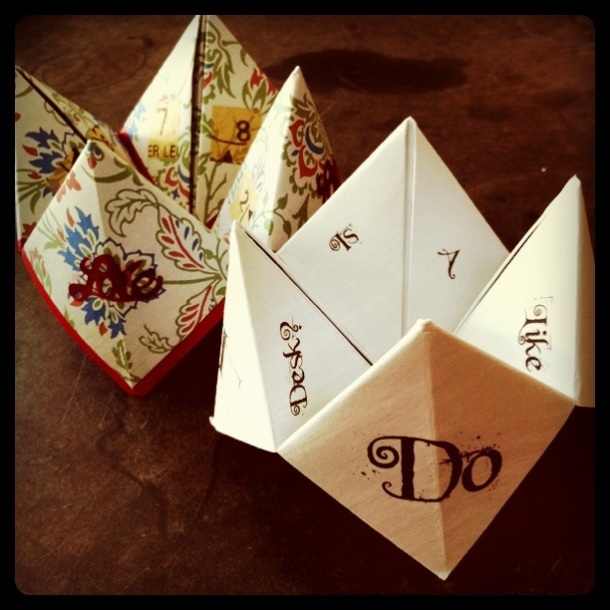
Here is a slightly less time consuming way to make a fortune teller. Simply fill in the blanks on the template and print off! The one I have made has the words ‘I DO’ on the outside, and the options on the inside flaps spell out ‘Why is a raven like a writing desk?’ – the famous Mad hatter riddle that never had an answer! Alternatively you could write riddles on these, then write the answers on the inside. Below are some ideas for riddles that may be fitting for the occasion.

Q. I never was, am always to be. No one ever saw me, nor ever will. And yet I am the confidence of all, To live and breathe on this terrestrial ball. What am I?

A. The Future

Q. If you break me I do not stop working,If you touch meI may be snared,If you lose me nothing will matter.

A. Your Heart

Q. What starts with a T, ends with a T, and has T in it?

A. A teapot

Q. A mile from end to end, yet as close to as a friend. A precious commodity, freely given. Seen on the dead and on the living. Found on the rich, poor, short and tall, but shared among children most of all. What is it?

A. A smile

Q. Two words is my answer. In order to keep me, you have to give me. What am I?

A. Your word

Q. What holds two people together but touches only one?

A. A wedding ring

Q. I go in dry and come out wet, The longer I’m in, the stronger I get. What am I?

A. A tea bag

I hope you enjoyed todays DIY Wedding Kit For more DIY wedding ideas please visit http://www.weddingreceptionidea.co.uk/diy_wedding_ideas.html, and if you’d like to see my ideas as I come up with them please subscribe to my blog!

DIY Wedding Kit #3 – ‘Time for Tea’ Name Cards

Looks like I’m on a roll today! Heres my second DIY Wedding Kit of the day.

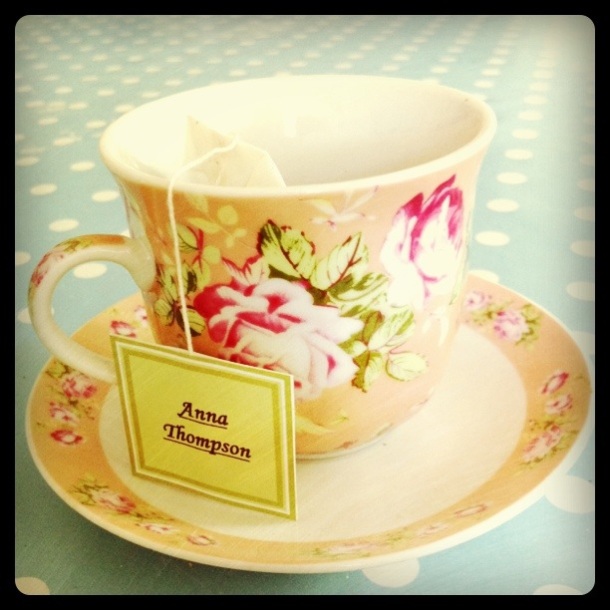
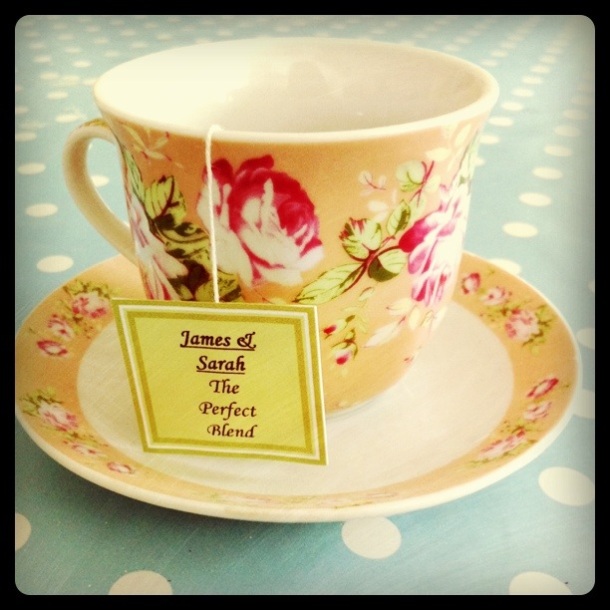
This one is perfect for anyone planning a ‘Vintage Tea Party’ themed wedding reception. Really quick and easy, and an original idea to use for place cards.

 DIY Tea Time Place card

What you will need:

  • As many tea bags as you have guests. Any brand which has tabs.
  • Double sided tape, or glue.
  • A computer and a printer, or good old fashioned pen and paper.

All you need to do now is design your own personalised tab. The one photographed has the guest’s name on one side and ‘James & Sarah, The Perfect Blend’  on the other, but you can go for whatever will fit in with your theme. I made my tab like a little book, I cut the old tab off and trimmed the string so that it would fit in my chosen tea cup nicely. I then cut a similar sized piece of double-sided tape and stuck it on the inside of the right page, then sandwiched the string in between before pressing the two together.

DIY Tea Time Place Card

Here is a chance to really show of your personality and creativity on a shoe string budget. If you don’t fancy printing your design off the computer you could do it all by hand. Write in calligraphy pen or use transfers, stick on lace, buttons or ribbon, use fabric as a base, floral, polka dot, stripes,  incorporate pages from old books, atlases or dressmaking patterns… the list goes on.  You can make this as quick or as intricate as you like, but either way, it’s going to be a talking point!

If you are looking for more ideas for a ‘vintage tea party’ themed wedding have a look at  http://www.weddingreceptionidea.co.uk/vintagethemedwedding.html. Or if you would just like general wedding inspiration go to http://www.weddingreceptionidea.co.uk/index.php.

If you’re looking for Vintage themed wedding entertainment check out the fabulous bands and musicians at  http://www.thebandboutique.co.uk/somethingdifferent.html.

DIY Wedding Kit #2 – Origami Hearts

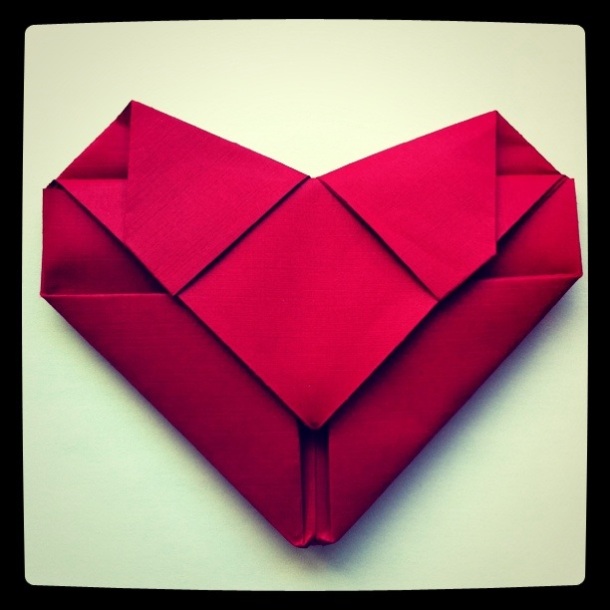
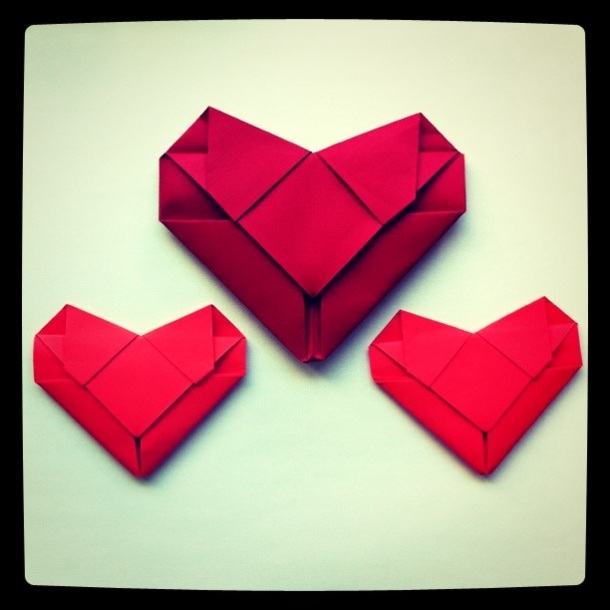
Here’s DIY kit number 2. This one is quicker to do than my first kit on knitted letters, and could be used in a variety of ways to make your wedding day look spectacular! Its Origami hearts!

Origami Heart

These are really simple to make once you’ve done a few, and why not speed up the job by getting your bridesmaids involved in an ‘origami afternoon’. All you need is a piece of paper! Heres a few ideas on how to use them;

  • Hang them on string as an alternative to bunting.
  • Write your guests names on them and use them as cute place settings that your guests can take home as a momento of the day.
  • Make small ones and scatter them on the tables as confetti.

Or if you can’t be bothered to make them yourself, why not get your guests to do it! Provide each table with instructions and a variety of colours of paper. You could even ask that guests write their messages to the happy couple inside (instead of a guestbook), then have them hung up somewhere or pinned to a cork board.  This would provide a great talking point and keep your guests entertained while they are waiting for food.

The instructions can be found at Bijoux Brides, if you would like to see them please go to http://www.bijouxbride.com/pretty-project-3-origami-hearts

For lots more crafty ideas check out www.weddingreceptionidea.co.uk.

Origami Hearts

DIY Wedding Kit #1 – Knitted Letters!

Being a crafty type I wanted to post some DIY ideas for making your wedding look unique. So here is the first of my DIY Wedding Kits …. Knitted Letters!

If you’re constantly wanting to do things towards your wedding, then this is perfect for you. It will all fit neatly inside your handbag and you can do it on the train, in the car (not while driving!) and even while watching the telly when you get really good.

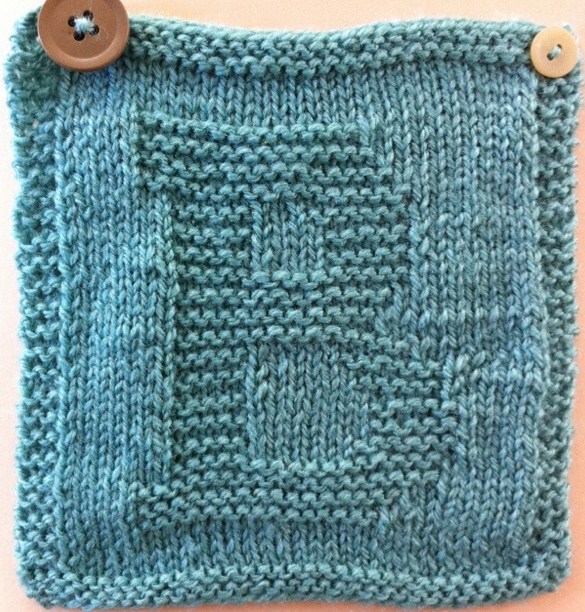
I found the pattern at  http://www.knittingknonsense.com/index2.html which has letters, numbers and even animals and countries. Although they take a fair amount of concentration (and maybe 3 hours to complete) you don’t need to be an expert to knit them. All you need to be able to do is; cast on, knit, purl, and cast off.  If you can’t do that yet you can probably pick it up in a few lessons with your gran (as I did) or check it out on youtube.

Knitted B


You may be thinking ‘what has knitting got to do with weddings?’, but there are lots of places you can use these little squares. What about knitting yours and your partners names to put above the seating plan, or to make a ‘JUST MARRIED’ sign to hang on the back of the bridal car. The great thing about it is that it will last for years and years, and you could even pass it down to your children for their wedding day.

The squares are very versatile, you can knit them in virtually any size you like, so could be made into a variety of favours.  How about knitting your bridesmades initials and sewing them onto cushions or using them to cover photo albums or books. Once you’ve got your thinking cap on the list will be endless! 

As decoration or as gifts these would give a personal touch to any wedding, whatever way you decide to use them.